Risotto with portobello and parmigiano reggiano ... try staying that three times really fast. Its fun! But you know what is more fun, and more productive? Cooking it.
Risotto is one of those dishes that is famous for being unique to each chef; few follow any prescribed recipe, and neither should you. Take this as a simple guide on the overall steps but feel free to experiment around. I'm creating a basic mushroom risotto with portobello, because that is what I found in my local grocery store. Hopefully you live in a place with a better selection of groceries than that.
If you want to pluck some wild mushrooms for the risotto, then do so at your risk. I take no responsibility for any pink elephants that trample through your kitchen and eat your coconut tree sculpture.

For this recipe (for two people) you will need:
- 4 medium sized portobellos*
- 2 small shallots
- 2 small cloves of garlic (or one large)
- 150 grams of Arborio Rice
- Roughly half a cup of white wine
- 500 milliters of chicken broth (vegetable broth works fine too), kept warm in a pan
- 1 tablespoon of crème fraîche
- Some thyme, rosemary, salt, pepper and olive oil.
And about 45 minutes in the kitchen, start to finish. Risotto is famously involved, so expect to be well occupied most of those 45 minutes.
Start with slicing your mushrooms up; I left mine large entirely for no reason, dice yours if you want to.

Then chop up your shallots and garlic.


Heat up a skillet on medium heat and add a slab of butter, let it melt a bit.

Then add the shallots and garlic.

Let the shallots and garlic roast in the butter.

And then add your chopped mushrooms and sprinkle a bit of salt and pepper.

Mix them around well in the butter, get the mushrooms coated in the garlic and shallots.

Let the mushrooms cook for about 10 minutes until they are soft.

Then take them out of the pan and plate them for now.

Add a bit of olive oil to the pan, then add the Arborio rice and some thyme and rosemary into the pan, along with a pinch more salt and pepper.

Pour the wine in to deglaze the pan.
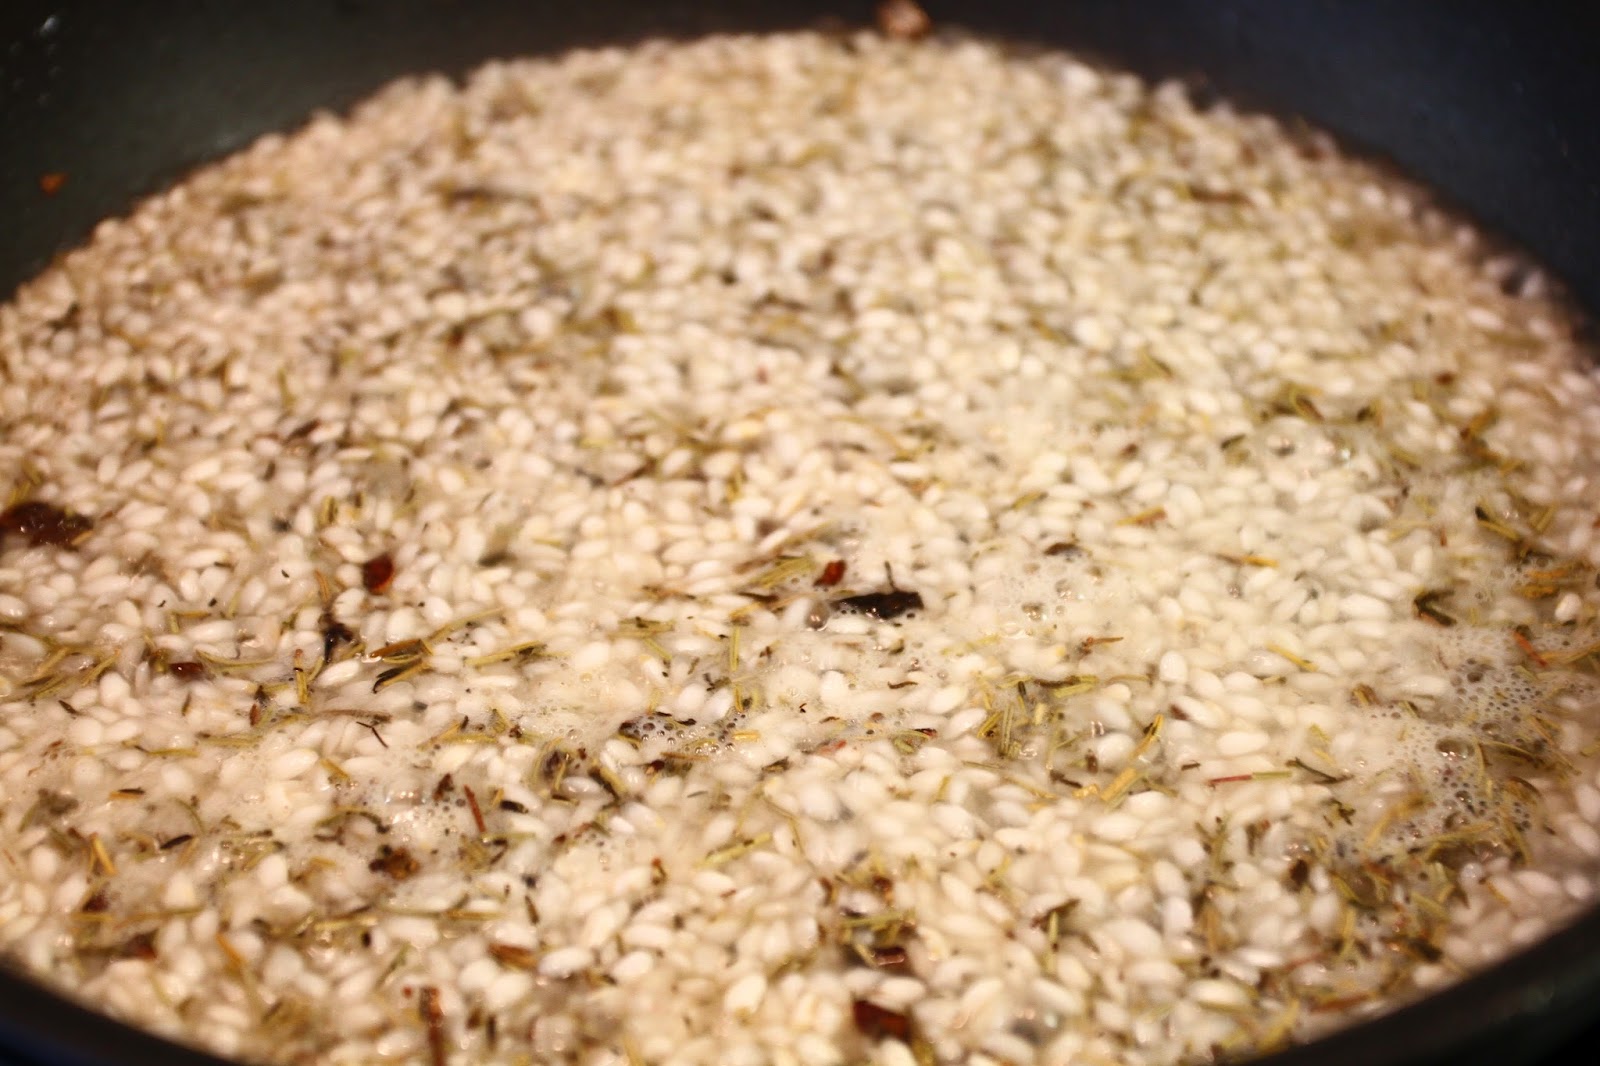
Let it all sizzle until the wine evaporates and the risotto thickens.

Now its time to start with the broth. The idea here is to add a bit of broth at a time; just enough to barely cover the rice.

And you have to keep stirring the rice, don't let it just sit in the broth. Keep stirring until you can separate the rice and it doesn't come back together. This is where risotto is a very involved dish; you can't set it up and walk away, then come back 10 minutes later. Stay on top of it, keep stirring the rice so that it cooks nice and evenly, and the stirring actually causes the rice to release starch, which is what gives risotto its creamy texture.

Now add a little more broth, again just enough to cover the rice.

And basically, repeat this process for about 10 to 15 minutes. After 15 minutes, just taste some of the rice to check if it is cooked al dente; the rice will be firm, but chewable. Once it is at this stage, keep stirring and don't add any more broth; just let the broth get absorbed into the rice, but don't let the rice dry out completely.

We can stop the cooking process now to ensure the rice does not cook itself into mush by turning off the heat and adding some crème fraîche.

Mix the crème fraîche in and then add your mushrooms back into the pan. Remember to pour back any butter than was on the plate with the mushrooms; this has the lovely flavours of garlic and shallots!

Mix the mushrooms into the rice, and your risotto is ready to serve!

For serving purposes, I sliced my parmesan instead of grating it.

And finally; serve the risotto in a plate or pasta bowl and top it with parmesan.
*Tip: Don't throw away your (portobello) mushrooms, refer to our "Let's not waste anything!" page, and check out few ideas on how to use your mushrooms.
As with all the other recipes we put on this site, this is meant to be easy to follow. We are hobby chefs who love to cook, and we are always up for learning new techniques. If you know of anything in this recipe which can be done a different way, whether for increased ease of preparation or better taste, please add a comment below!
Whipped up by Shyamal Addanki


