Let's try and make something other than the traditional apple pie, and venture to a delicious and sweet pear, cranberry, and yoghurt pie you can make easily.

For a 26 cm diameter deep-dish pie, you will need:

Preparation time: 20 minutes
Baking time: 1 hour 10 minutes (20 minutes for the shortcrust pastry by itself, and 45 to 50 minutes for the whole pie with filling)
Start by preheating your oven to 225 C (435 F).
Cover your deep-dish pie pan with parchment paper and lay your shortcut pastry on it.

Add another sheet of parchment paper over the shortcrust pastry and add weight on it. In my case I used some baking ceramic pie weights, but you can also used dried beans.


Once your oven is preheated, place the shortcrust pastry in it for about 20 minutes.
After 20 minutes, remove from the oven and let it cool.

Reduce your oven temperature to 175 C (350 F).
While your pastry is cooling down, prepare your pie filling.
In a bowl, combine the eggs and the sugar and whisk until you obtain a frothy mix as shown below.


Then add the flour and mix gently.


In a separate bowl, add the vanilla extract to the plain yoghurt, and mix.


Add the vanilla-yoghurt mixture to the egg-sugar-flour mixture and mix together.


Once the shortcrust pastry has cooled down, add the filling.

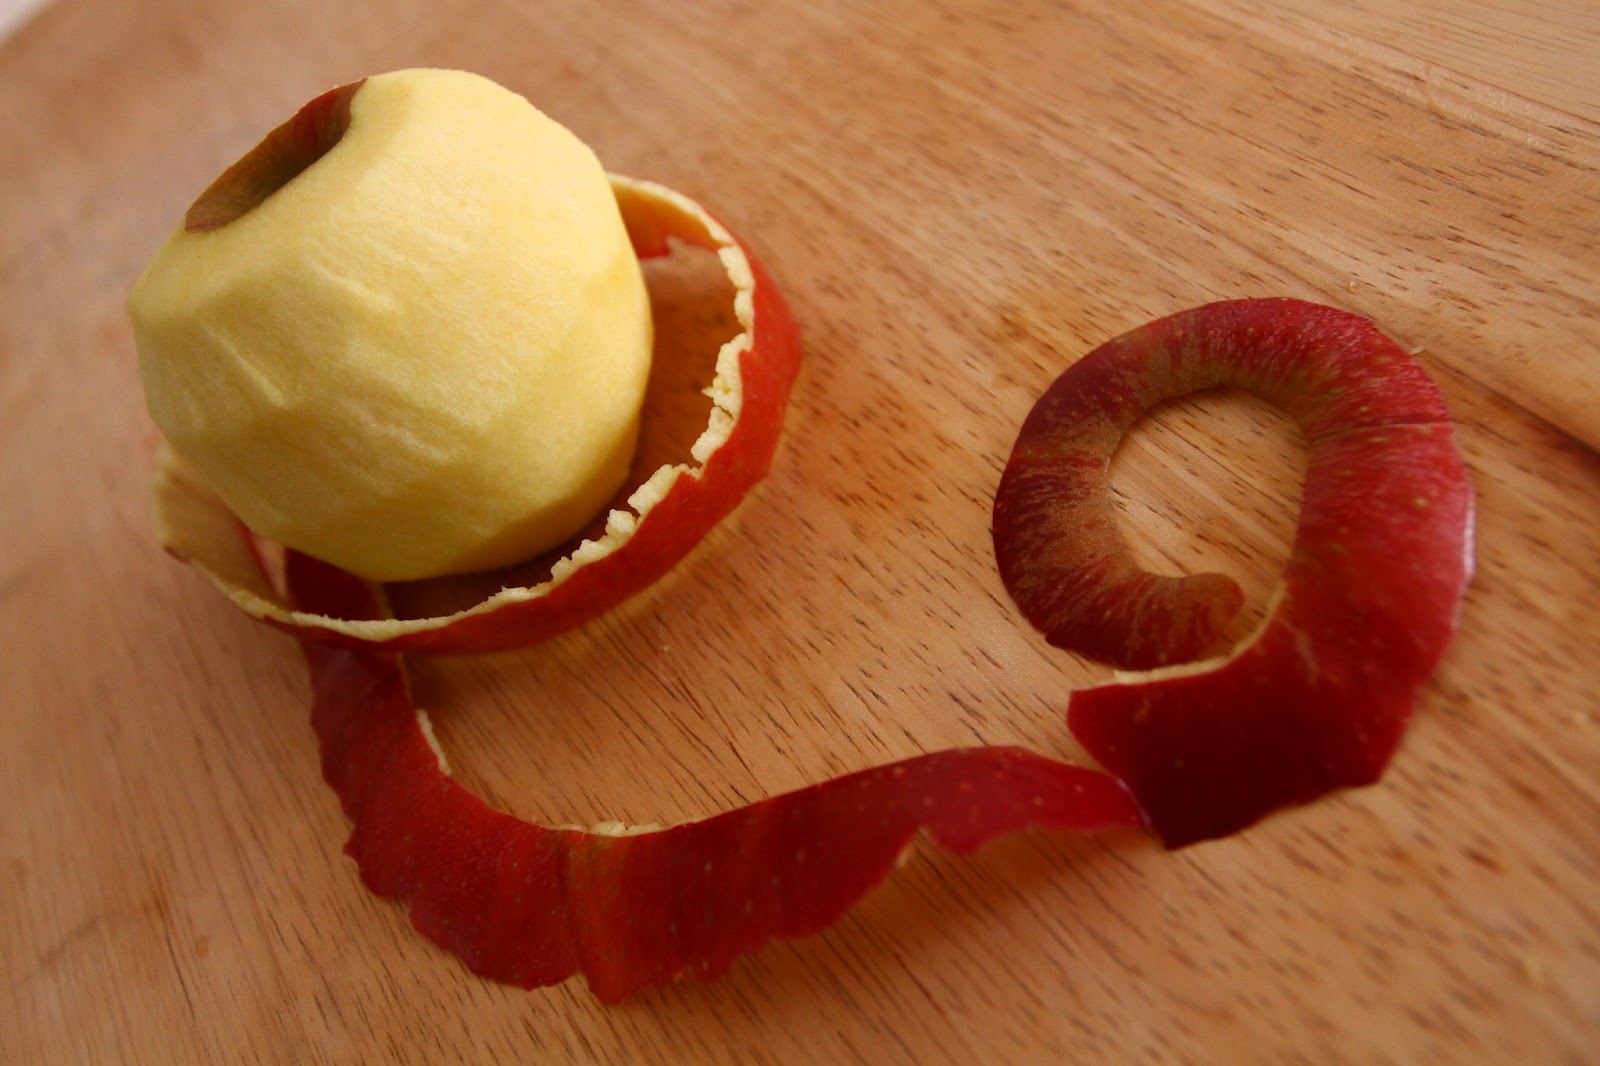
Peel and core the pears.
Slice the pears into thin slices.

Place the slices in the filling, all in the same direction. Be sure to not over-crowd the pear slices.

Distribute the cranberries on the top.

Place the pie in the oven for about 40 minutes.
After 40 minutes, increase your oven temperature to 200 C (390 F), and let the pie bake for another 5 to 10 minutes, or until the color of the filling becomes golden. For the last baking part, keep your eyes on the pie.
Remove the pie from the oven and let it cool down.
You can eat your pie either cold or luke warm.
Enjoy!

For a 26 cm diameter deep-dish pie, you will need:
- One 33 cm diameter shortcrust pastry
- 3 eggs
- 250 grams of sugar
- One and a half tablespoon of flour
- 300 grams of plain yoghurt
- One teaspoon of vanilla extract
- 2 medium-sized ripe pears
- About 60 grams of fresh cranberries (previously cleaned)
Preparation time: 20 minutes
Baking time: 1 hour 10 minutes (20 minutes for the shortcrust pastry by itself, and 45 to 50 minutes for the whole pie with filling)
Start by preheating your oven to 225 C (435 F).
Cover your deep-dish pie pan with parchment paper and lay your shortcut pastry on it.
Add another sheet of parchment paper over the shortcrust pastry and add weight on it. In my case I used some baking ceramic pie weights, but you can also used dried beans.
Once your oven is preheated, place the shortcrust pastry in it for about 20 minutes.
After 20 minutes, remove from the oven and let it cool.
Reduce your oven temperature to 175 C (350 F).
While your pastry is cooling down, prepare your pie filling.
In a bowl, combine the eggs and the sugar and whisk until you obtain a frothy mix as shown below.
Then add the flour and mix gently.
In a separate bowl, add the vanilla extract to the plain yoghurt, and mix.
Add the vanilla-yoghurt mixture to the egg-sugar-flour mixture and mix together.
Once the shortcrust pastry has cooled down, add the filling.
Peel and core the pears.
Slice the pears into thin slices.
Place the slices in the filling, all in the same direction. Be sure to not over-crowd the pear slices.
Distribute the cranberries on the top.
Place the pie in the oven for about 40 minutes.
After 40 minutes, increase your oven temperature to 200 C (390 F), and let the pie bake for another 5 to 10 minutes, or until the color of the filling becomes golden. For the last baking part, keep your eyes on the pie.
Remove the pie from the oven and let it cool down.
You can eat your pie either cold or luke warm.
Enjoy!
As with all the other recipes we put on this site, this is meant to be easy to follow. We are hobby chefs who love to cook, and we are always up for learning new techniques. If you know of anything in this recipe which can be done a different way, whether for increased ease of preparation or better taste, please add a comment below!
Whipped up by Charline Leblond
Photographs by Charline Leblond
Whipped up by Charline Leblond
Photographs by Charline Leblond